

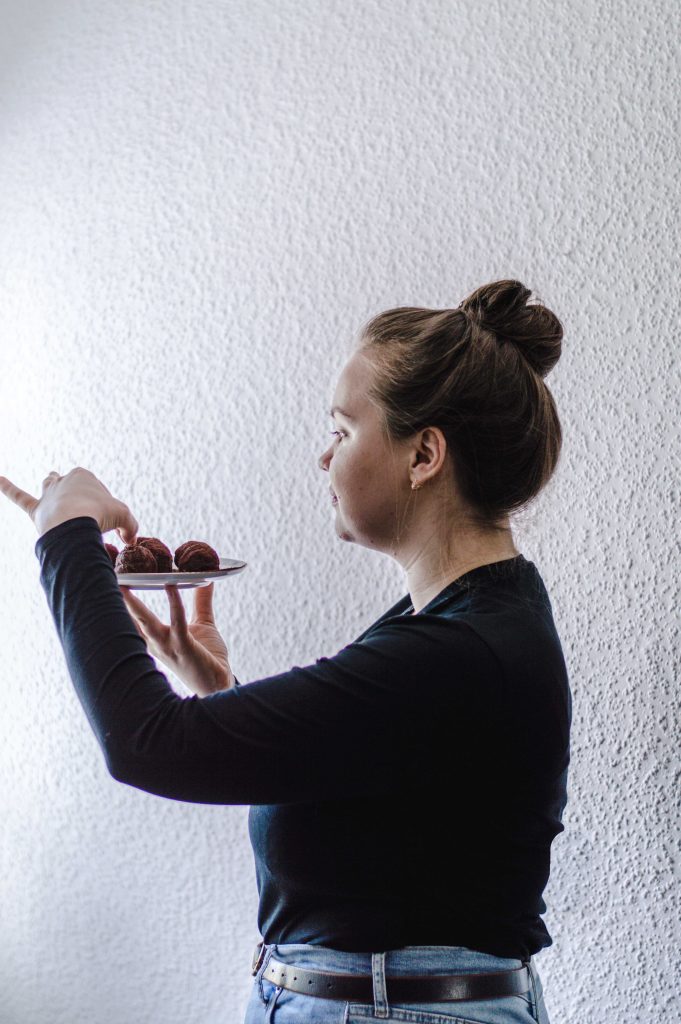
The word “potato” in Russian can mean both a vegetable and a type of cake. To be fair, the cake does look like the vegetable, hence the name. In Russian you call it kartoshka.
It’s neither fancy nor does it have a sophisticated flavor profile but I, like many Russian people, am very fond of it because of the childhood memories it brings back.
I remember standing at a grocery store in front of the window case with cakes and pastries as a little girl, and there was nothing in the whole world I craved more than kartoshka. Well, except for, maybe, Napoleon.

When I grew up, I realized that my favorite cake is nothing more than cookie crumbs mixed with condensed milk and butter. That simple and unpretentious but, nevertheless, delicious.
History of Kartoshka Cake
The first mentions of this dessert can be found in the beginning of XX century. It doesn’t mean that kartoshka was never made before, only that the written recipes would be impossible to find in cook books. Initially, it was a way of utilizing old, unsold pastries. Olga Shatunovskaya wrote in her memoirs:
“Before the revolution in Baku, today’s pastry cost a kopeck [Russian for cent]. The next day that same pastry would cost half a kopeck. On the third day, if it wasn’t sold, all those pastries would be used to make kartoshka-cake.”
Later, in Soviet Union, kartoshka turned into a self-sufficient dessert. It was not prepared of old pastries anymore. Instead, it was made of bread crumbs and cake cut-offs.
In other words, it was a perfect way for Soviet canteens to utilize leftovers as every crumb in the kitchen was on account and cooks couldn’t afford any waste.
Kartoshka quickly gained popularity among Russians and found its way into every household. The recipe calls for simple ingredients which was perfect for housewives in the times of food deficit and ration cards. When women started making this cake at home, there were no leftover crumbs or cut-offs, of course, so they used biscuits instead.


Biscuits
Biscuits used for Russian kartoshka should be neutral in taste, something like Marie biscuits. Some recipes call for making a sponge cake from scratch to mimic the original kartoshka made of cake cut-offs. If you have time on your hands, give it a try. But it’s really not a must.
Kartoshka is meant to be a simple cheap treat that one can make in 20 minutes. Baking a cake from scratch just to crumble it afterwards definitely adds some work. Store-bought biscuits work just fine.
Condensed milk
The easiest way is to use Nestle’s Milkmaid or any other brand of condensed milk you can find. But if you are willing to go an extra mile, you need a tin of Russian condensed milk made according to GOST standards.
GOST is a certification system developed in Soviet Union that guarantees the highest quality. Even today GOST condensed milk is the only one Russian women use in their kitchens. You can find it in International or Eastern European grocery stores.
Kartoshka
An easy Soviet dessert made of crushed cookies, condenced milk and butter.
Ingredients
- 320 g biscuits
- 150 g butter
- 190 g condensed milk
- 2 tbsp cocoa powder + 3 tbsp cocoa powder for coating
- 50 g nuts of your choice (I use walnuts or hazelnuts), toasted
- 2 tbsp cognac (optional)
Instructions
1. Melt butter in a sauce pan.
2. Place biscuits and half the nuts into blender and pulse until they turn into fine crumbs.
3. Chop the rest of the nuts with a knife.
4. Mix biscuit crumbs with cocoa powder and chopped nuts.
5. Add melted butter and condensed milk into biscuit mixture. Mix well until you get dough-like consistency. You can add cognac for added flavor.
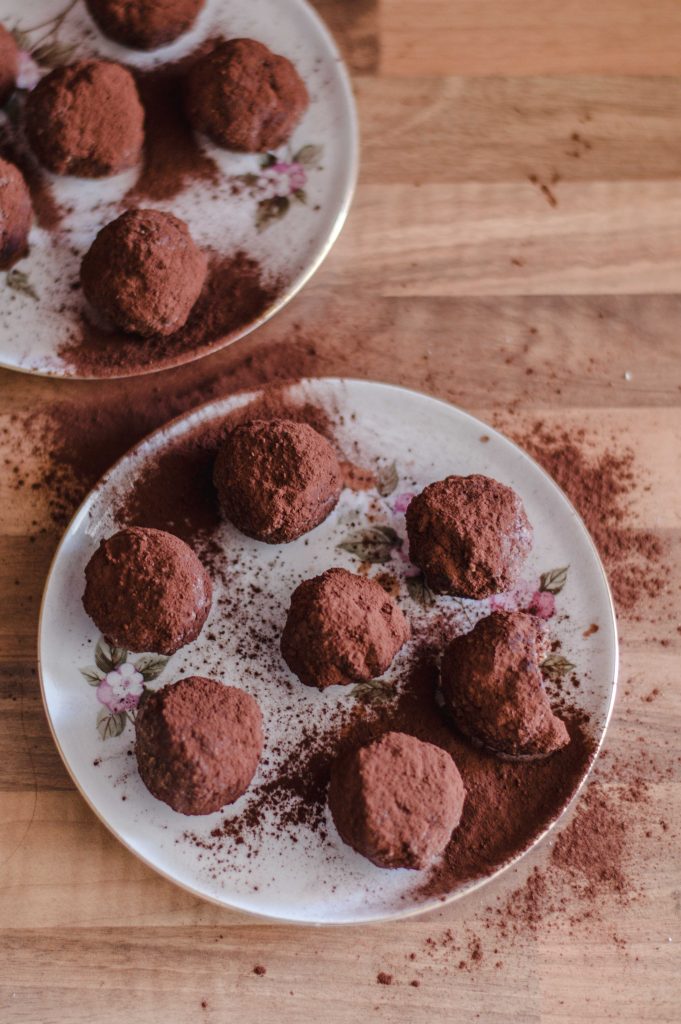
6. Take a scoop of dough (I use ice cream scoop) and roll it into a ball or oval shaped “potato” to make it look more like a classic version.
7. When all the balls are done, place them in refrigerator and let them cool for 15 minutes.
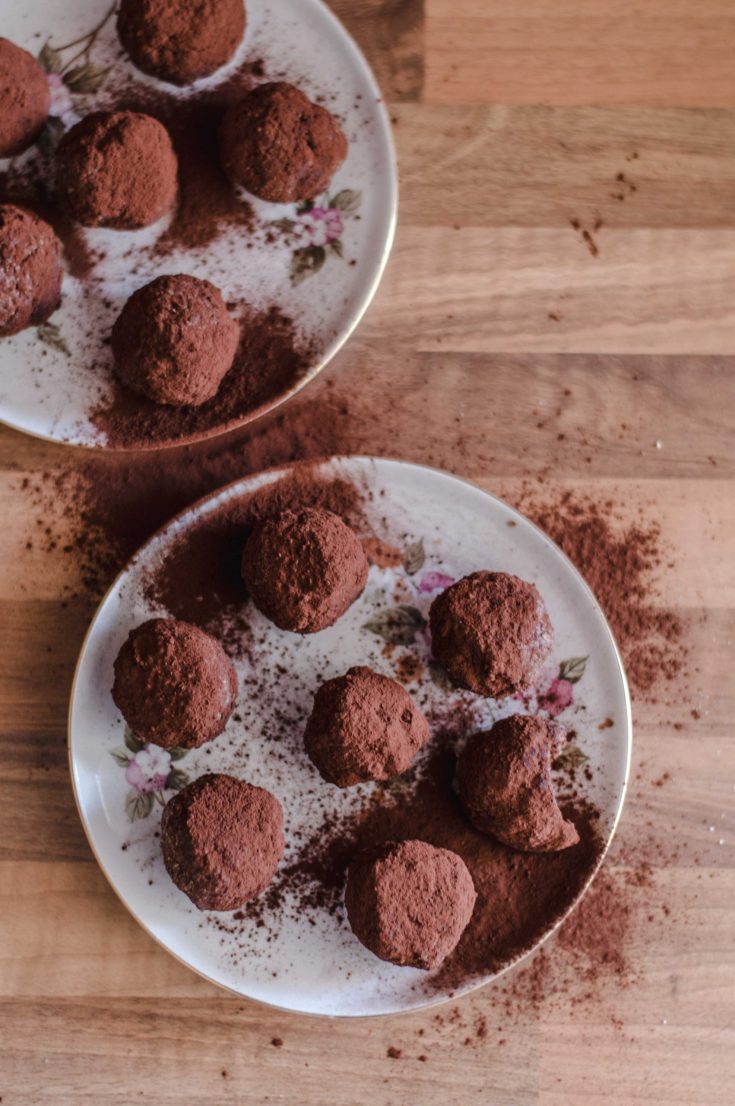
8. Sieve cocoa powder over the balls turning them several times to make sure they are covered on all sides.


Yum, they sound a lot like rum balls. We use store bought vanilla wafers, but I love the idea of using left overs.
I think a lot of countries have their own version of kartoshka. And it would most definitely benefit from added rum!
For such humble ingredients, these look positively decadent, and sound like they’d be good with coffee or tea. (Just one for me, thank you – they also look mind-numbingly rich.)
Living in Soviet Union meant you had to make do with the few ingredients that could be found in grocery stores. People were forced to be creative. But it amazes me also how something so simple can be so satisfying! Sticking with one is a good idea, but believe me it’s easier said than done 🙂
Where I lived we had a bakery that made them commercially but it was easier to make them at home without going anywhere. Just like here in US we make recipes at home instead of going to a restaurant. Besides there biscuits were part of every home all the time because it served with the tea. Russians drink a lot of tea.
And actually if you live close to the Russian store here go try some cakes. You will find that those have a lot more ingredients than any cake made in US. A lot more. Most american cakes based on the sponge layers with different cream in between and different toppings. Russians make very few cakes based on the sponge layers.
Too much butter. Can be half of that really. or even less. Butter was dripping and “potatoes” kept sweating butter. Had to add plain Panco bread crumbs. Otherwise authentic taste from childhood. Extreme amount of butter also made it hard to make resulting balls look good.
Hey Dima! Thank you for the comment! I’ve made this recipe a couple of times before, and it turned out well (kartoshka on the pictures in this post was made according to this recipe). I might have to make it again and see where the problem might be! Thank you for sharing your results!
Kind of reminds me of my sister’s child-friendly rum ball recipe. (Although that could have been influenced by the kartoshka recipe to begin with?)
Anyway, interesting to know how these delicious little balls are made 🙂
I think there are a lot of dishes that are somewhat similar in different countries, like ravioli in Italy is a cousin of Chinese dumplings which is a cousin to Russian pelmeni and Georgian hinkali. I’d assume kartoshka is similar, I’ve definitely seen it in other Eastern European countries. Not sure who was the first and who influenced whom, though))) Glad you enjoyed the post 🙂
I agree with Dima, this recipe did not work it for me due to the butter. They were very wet and hard to make into potatoes. It was not possible to roll them into the cocoa. Maybe there is a difference in the quality of German/European butter and here in America?
Hi Gracie,
I am upset the recipe didn’t work for you! Sorry it took me so long to reply, but I wanted to test the recipe once again and see where the problem could be. I made this Kartoshka cake in Russia, in USA, and now in Germany, so I don’t think it’s the quality of butter. Maybe it’s the size of biscuit crumbles? I tend to blend mine very finely, so they soak in a lot of butter and condensed milk. I also blend about half of the nuts, and even though it’s only 25 grams, it could make a difference. I removed “optional” for nuts based on your feedback.
While I was testing the recipe I took some new pictures and made a video, so you can see what kind of consistency my dough has. My hands definitely get oily while I roll the “potatoes”, but they do come together nicely and hold the shape, especially after staying in the fridge for a bit. I really hope the video helps!
Best wishes from Germany!
Is the condensed milk sweetened or not?
Hi Valerie!
Yes, the condensed milk is sweetened!
Hi Yulia!
Thank you for the wonderful recepie!
I tried it several times and Kartoshka turned just fine. No, not just fine, rather delicious!
I did not use cocoa to cover them though.
Thank you for sharing,
Polina
Hi, Polina!
That makes me so happy! Cocoa on top is totally optional 🙂 Thank you for taking the time to write to me!
We have a wonderful Russian store (Golden Grain) here in Houston. The woman who runs it makes wonderful borscht and pickles and as I have recently found out, pastries as well. Being diabetic, I don’t buy a lot of sweets but the beautiful chocolate oval cakes were enticing so purchased one. She told me they were called kartoshka, and Google led me to your recipe! When I asked her today about the filling, she said she made her own “bisqvick” (is how she pronounced it, but I’m not sure what she meant). She pointed to some cookies on the shelf saying that using that wouldn’t be the same. What are the biscuits you use? Is there a brand I can find, are they cookies or sponge cakes (as I’ve read is used in other recipes)? I’d like to try making them for Easter, and your recipe sounds like a winner!!
Hi Rebecca!
So happy you are planning to make kartoshka for Easter and chose my recipe! I am not sure, what exactly the lady from your grocery store meant, but the biscuits I use are what I believe is know as “rich tea biscuits”. They are round, with a brand name embossed on the surface, and taste rather plain. In many countries they are also known under the name “Maria biscuit”. You can search for pictures of “Maria biscuits” in Google, and you’ll know right away what they are. I am sure you’ve seen them in your regular supermarket many times. Let me know if I can help in any other way. Happy Easter!
Hi I’m super excited to try this recipe! I was just wondering if the leftovers need to be kept in the fridge to stay good! Thank you so much❤️
Hi Lily!
I am excited you are excited to try this recipe! 🙂 There really should be no leftovers because you just form small balls with your hands so you can use up all the dough. But if you have any, I’d store them in refrigerator, since there’s butter involved. I assume it would taste good on top of yogurt!
I also had the issue with the butter. Mine ended up crumbly and were dripping butter when I tried to roll them. Added more biscuit crumbs but still couldn’t roll in the cocoa powder without them falling apart or absorbing the powder…
Hi Mary!
Thank you for leaving your feedback, I am so sorry the recipe didn’t work for you! Could I ask a few questions that might help to figure out what went wrong?
– is it hot and/or humid where you are located right now?
– were you using the measurements in grams or converted them into cups? (I am going to add Imperial system measurements soon, as a lot of people who make this recipe are in the U.S.)
– could you have used evaporated milk instead of sweetened condensed milk? It seems to be a common mistake.
It would help me to fail-proof the recipe for the future!
Are the nuts needed? I have to do this for a class project, and due to nut allergies I can’t use them.
Hi Bella! You can replace the nuts with an equal amount of biscuits. Nuts just add to the flavor, they are not essential 🙂
Hi Yulia!
I made kartishkas last night and they turned out perfectly fine! I haven’t made them since childhood and they turned out better than I expected I live in Canada and we have the same butter as in the US (European butter has less water and tastes better!) but I had no problems with consistency or liquid. I usually eyeball the measurements too
Here are the ingredients that I used:
*Lactania Country Churned Unsalted Butter
*no brand Maria cookies
*Dry Roasted Pecans Unsalted
*Presidents Choice (store brand) cocoa powder (used the same for coating)
*2 spoons of Captain Morgan Spicy Rum (although you can not really taste it, so I might skip next time)
Not sure if it is going to help anyone who had issues with the recipe but I do suggest to use a better quality butter (for North America residents)
Hi Nika!
Thank you so much for leaving such a detailed comment, it will help other readers in the future! I am really happy your kartoshka turned out well. Will need to double-check the amount of liquor next time I make it (I made these alcohol-free for at least the last 3 years as I had a baby)))
Best wishes for the upcoming holidays!
Yulia
How much alcohol do I have to add to taste it? Local bakery sell rum balls which actually reminded me of kartoshka in Russia over 40 years ago. I can taste the rum. But here I added 3 TBs and still could not taste the rum. Thanks
Hi Eugene,
I am sorry it took me a while to reply! I am afraid I don’t have the answer right now. A few tablespoons is what I’d normally put, just as indicated in the recipe, but I’ve been making these without alcohol for the past four years as I am breastfeeding. I’ll retest it when my babies are older 🙂